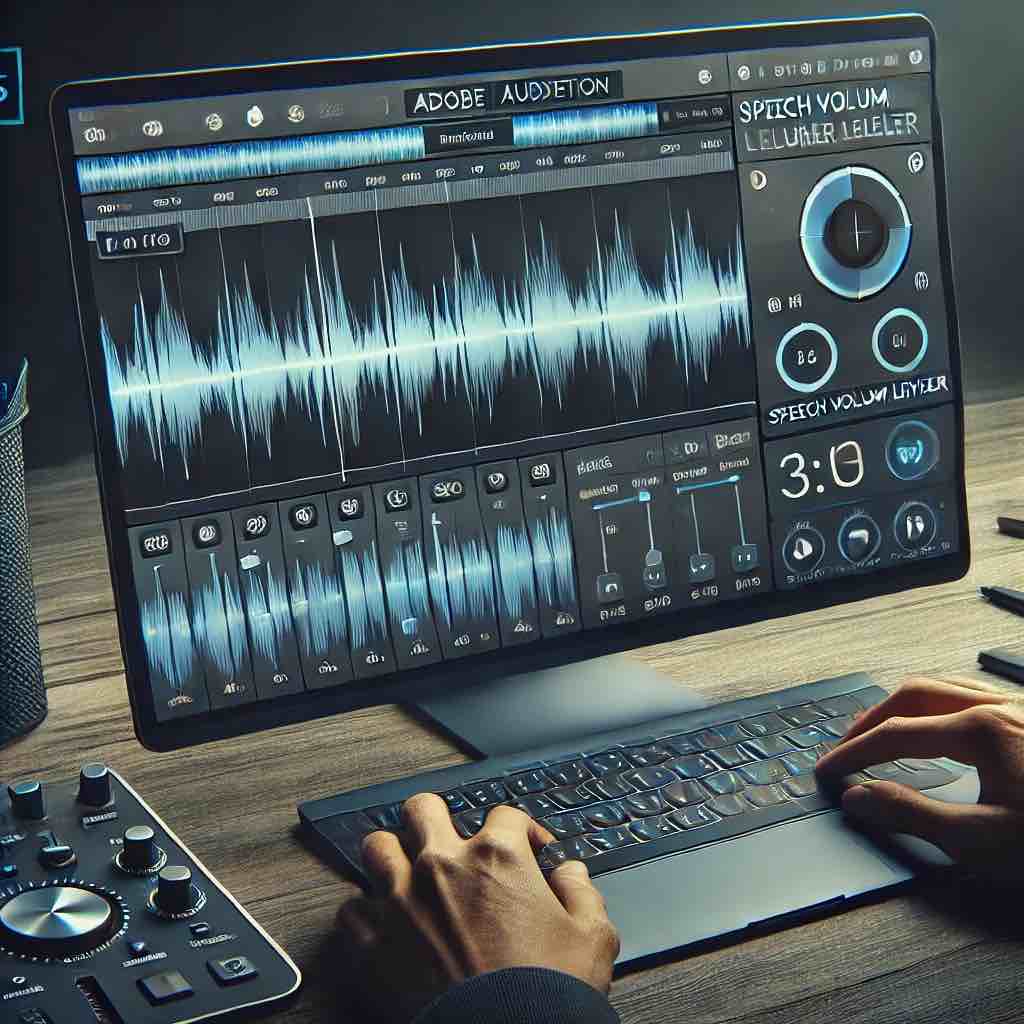
Have you ever recorded a podcast or RiversideFM interview only to find that your speakers’ audio levels are wildly different? Some guests sound clear and crisp, while others are barely audible, making your episode sound uneven and unprofessional. Don’t worry—I’ve got you covered!
In this tutorial, I’ll show you how to fix uneven audio levels in Adobe Audition using the Speech Volume Leveler and other key effects. Let’s make your podcast sound top-notch!
Step 1: Identifying the Problem
When you play back your audio recording, pay attention to the volume levels. You’ll likely see that some sections of the audio are peaking at a good volume (around -3 dB to 0 dB), while others fall significantly lower (e.g., around -9 dB). These fluctuations can be distracting for listeners, especially if they’re using headphones.
Step 2: Open Your Audio File in Adobe Audition
– Load the File: Import your audio recording into Adobe Audition.
– Check the Waveform: Zoom out to see the entire audio track. This helps you visually identify which sections are too quiet or too loud.
Step 3: Apply the Speech Volume Leveler
– Navigate to Effects: Go to Effects > Amplitude and Compression > Speech Volume Leveler.
Adjust Settings
– Target Volume Level: This sets your desired output volume. Start with a setting of around -3 dB to -6 dB for a podcast.
– Leveling Amount: A range between 50% and 100% helps balance the audio without boosting too much noise.
– Boost Low Signals: Avoid checking this option, as it can amplify background noise along with the quieter speech.

Step 4: Preview and Fine-Tune
– Play the Audio: Hit Preview to listen to the adjusted audio. You should notice that previously quiet parts are now more balanced with the louder segments.
– Adjust Further: If needed, tweak the Leveling Amount or Target Volume Level to get the perfect balance.
Step 5: Optional: Use a Compressor for Uniform Levels
– Add a Compressor: Go to Effects > Amplitude and Compression > Dynamics and enable the Compressor.
– Set the Threshold: A typical setting for podcasts is around -6 dB to -3 dB.
– Make-Up Gain: Increase this slightly to raise the quieter parts without clipping.
Step 6: Apply and Save
– Apply the Effects: Once you’re satisfied with the preview, click Apply.
– Save Your File: Export the balanced audio to use in your podcast or video project.
Learn more about podcasting
Balancing audio levels can make a huge difference in the listening experience. By using the Speech Volume Leveler and a compressor, you can ensure that your audio remains consistent throughout, giving your content a polished, professional feel. This method is perfect for podcasts, interviews, and any project involving multiple speakers.
I hope this guide saves you time and helps improve your audio production! For those of you who want to learn everything about podcasting production, I’ve created an online course Podcasting 101. Make sure to get it! Also, don’t forget about my discount for using RiversideFM, use code NICOLE15 to get 15% off!


Comments are closed