Starting a podcast is super exciting, but let’s be real, the technical stuff can be a bit overwhelming. That’s why I made a video for my Youtube channel Nicole Ven Videos to break down the essentials of podcast equipment for every budget. And now, I’m putting it all here in this blog post for you.
Recording on a Phone: The Basics
When I first got into podcasting, I didn’t have all the fancy equipment. Guess what? Your smartphone can be your best friend when you’re just starting out. You can record monologues or even interviews right on your phone. It’s not studio-quality, but hey, we all start somewhere, right?
Clip-On Microphones: The Low-Budget Savior
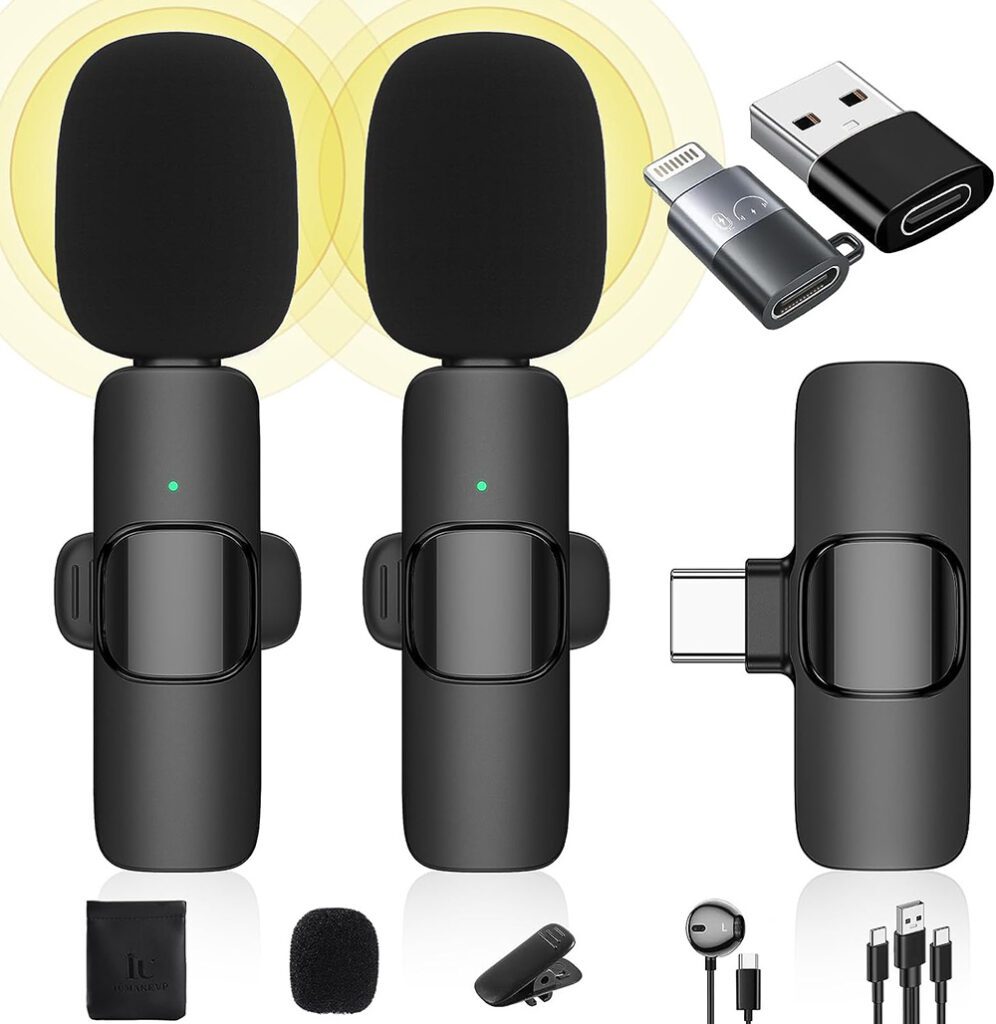
If you can spare a few bucks, a clip-on microphone for your phone can be a game-changer. Trust me, it’s a small investment that can make a big difference in your audio quality. You can record directly into your phone voice memos or apps like Spotify for podcasters which can distribute your episode immediately.
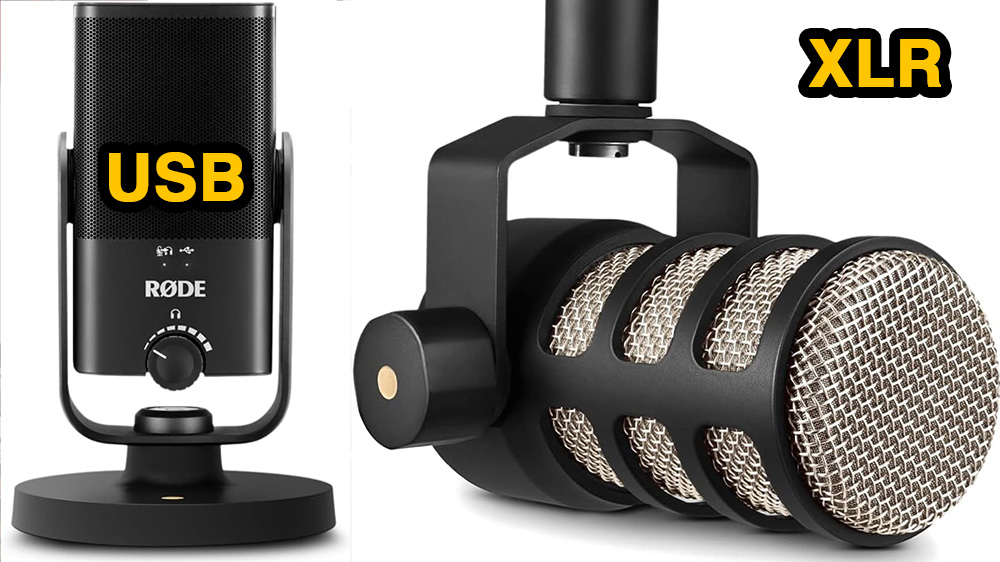
The USB vs XLR Debate
When you’re ready to level up, you’ll probably find yourself torn between USB and XLR microphones. I’ve tried both. USB mics are cheaper and super easy to use. How about XLR mics? They give you that crisp, professional audio but need an audio interface to connect to your computer.
What is an XLR Microphone?
An XLR microphone uses an XLR connector, which is a type of electrical connector primarily found in professional audio, video, and stage lighting equipment. XLR mics are generally considered professional-grade and are commonly used in settings like recording studios, live performances, and broadcasting.
Pros:
– High audio quality: XLR microphones often deliver superior sound quality compared to their USB counterparts.
– Versatility: They can be used with a variety of audio equipment, including mixers and audio interfaces.
– Durability: XLR connectors are robust and designed for long-term use.
– Long cable runs: XLR cables can be very long without a loss of audio quality, making them ideal for larger setups.
Cons:
– Requires additional equipment: You’ll need an audio interface or a mixer to connect an XLR microphone to your computer.
– Cost: Generally more expensive, especially when you factor in the cost of additional equipment.
What is a USB Microphone?
A USB microphone can be plugged directly into a computer and is often used for simpler setups like podcasting, streaming, and basic recording tasks.
Pros:
– Ease of use: USB microphones are plug-and-play, requiring no additional equipment.
– Portability: They are generally smaller and easier to transport.
– Cost-effective: Usually cheaper than XLR microphones and don’t require extra gear like an audio interface.
Cons:
– Limited audio quality: While some high-end USB mics offer good sound quality, they generally can’t match the audio quality of XLR mics.
– Shorter cable length: USB cables are usually shorter, limiting your mobility.
– Less versatile: Can’t be easily used with professional audio equipment like mixers.
Which One is Better?
The “better” option depends on your specific needs:
– For Professional Recording: If you’re looking for the highest possible audio quality and are willing to invest in additional equipment, an XLR microphone is the better choice.
– For Simplicity and Convenience: If you need a microphone for casual use, like podcasting or streaming, and want a simpler, more portable setup, a USB microphone will likely suffice.
Remember, you often get what you pay for. If your work relies heavily on audio quality, investing in a high-quality XLR microphone and the necessary accessories is usually worth it.
What Podcast Equipment is Needed for Online Recording?
If you’re like me and love interviewing people or co-hosting episodes online, platforms like Zoom and Riverside FM are lifesavers. I know you probably already have a license for Zoom so it’s tempting to just record using that but Riverside FM will provide you with the highest quality audio and video and separate tracks for mix.
My clients usually start with Zoom and very quickly realise they should switch to Riverside FM for better results. You’re putting a lot of time into pre-production and it’s a shame when it falls apart during bad online recording.
Just a heads up—make sure your guests have decent mics too. You don’t want your high-quality audio paired with their laptop mic fuzz.
The Face-to-Face Setup
Recording in person? You’ll need a bit more gear. I always make sure each speaker has their own microphone. An audio interface can help you connect multiple XLR mics to one computer, making your life so much easier.
You cannot record two USB microphones into one computer. Only one USB input will be recognised by your operating system. So for face-to-face set-up, you either use clip-on smartphone microphones and record into separate phones or you invest in XLR microphones and an audio interface.
Handling Multiple Speakers
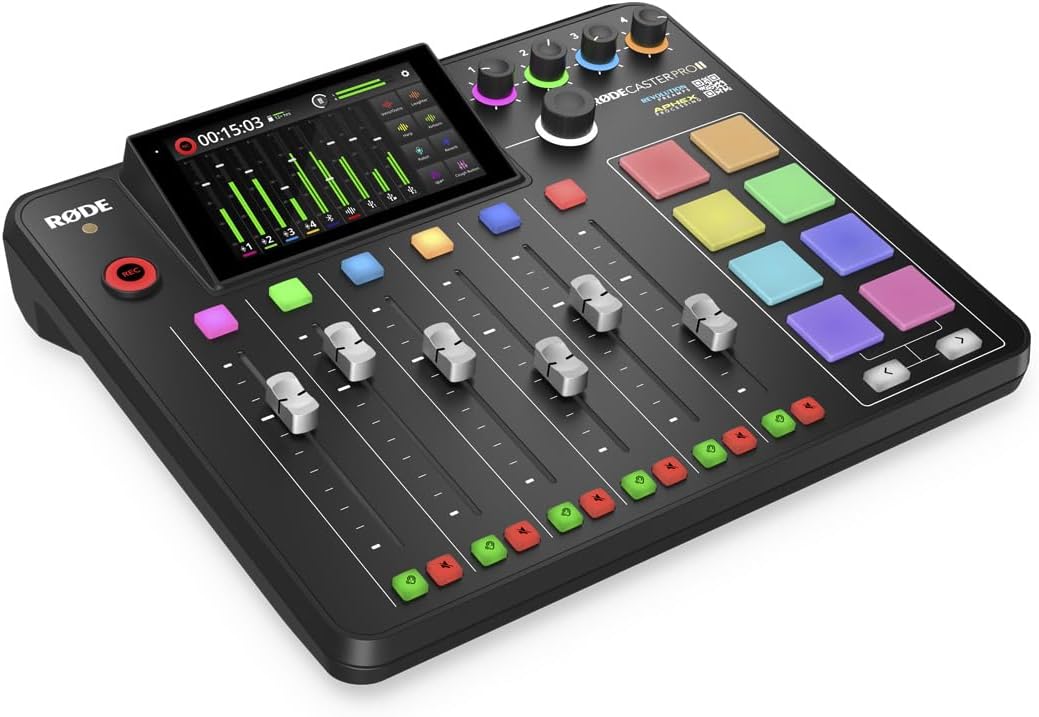
If your podcast features more than 2 people talking, consider getting an audio mixing board. It lets you connect multiple mics and gives you way more control over your sound. You also don’t need a laptop or computer to record your podcast. Great for you to have one less thing to think about.
Intuitive Interface
The Rodecaster Pro features a user-friendly interface with touchscreen controls, making it easy for both beginners and professionals to navigate through settings and functions.
Multi-Channel Recording
This device allows for multi-channel recording, giving you the flexibility to record each guest on a separate track for easier post-production editing.
Built-In Sound Effects
The Rodecaster Pro comes with eight programmable pads for instant playback of sound effects, jingles, or applause, adding a dynamic element to your podcast or recording.
Bluetooth and USB Connectivity
The device offers Bluetooth and USB connectivity options, enabling you to easily connect smartphones for phone interviews or to play audio clips directly into your podcast.
High-Quality Preamps
The Rodecaster Pro is equipped with high-quality preamps that deliver clear, studio-grade audio, ensuring that your podcast sounds professional.
Versatile Inputs
With four XLR inputs, you can accommodate multiple guests or hosts, making it ideal for panel discussions or interviews.
Real-Time Monitoring
The device offers real-time monitoring capabilities through its headphone outputs, allowing you and your guests to hear yourselves with zero latency.
Portability
Its compact design makes it portable and ideal for on-the-go podcasting, whether you’re recording in a studio or at an event.
Firmware Updates
Rode regularly releases firmware updates, adding new features and improving existing ones, ensuring that your device stays up-to-date with the latest advancements.
Streamlined Workflow
The Rodecaster Pro is designed to streamline your podcasting workflow, integrating recording, editing, and live-streaming into a single piece of equipment. These advantages make the Rodecaster Pro a versatile and powerful tool for anyone serious about podcasting or professional audio recording.
Venturing into Podcast Equipment for Video
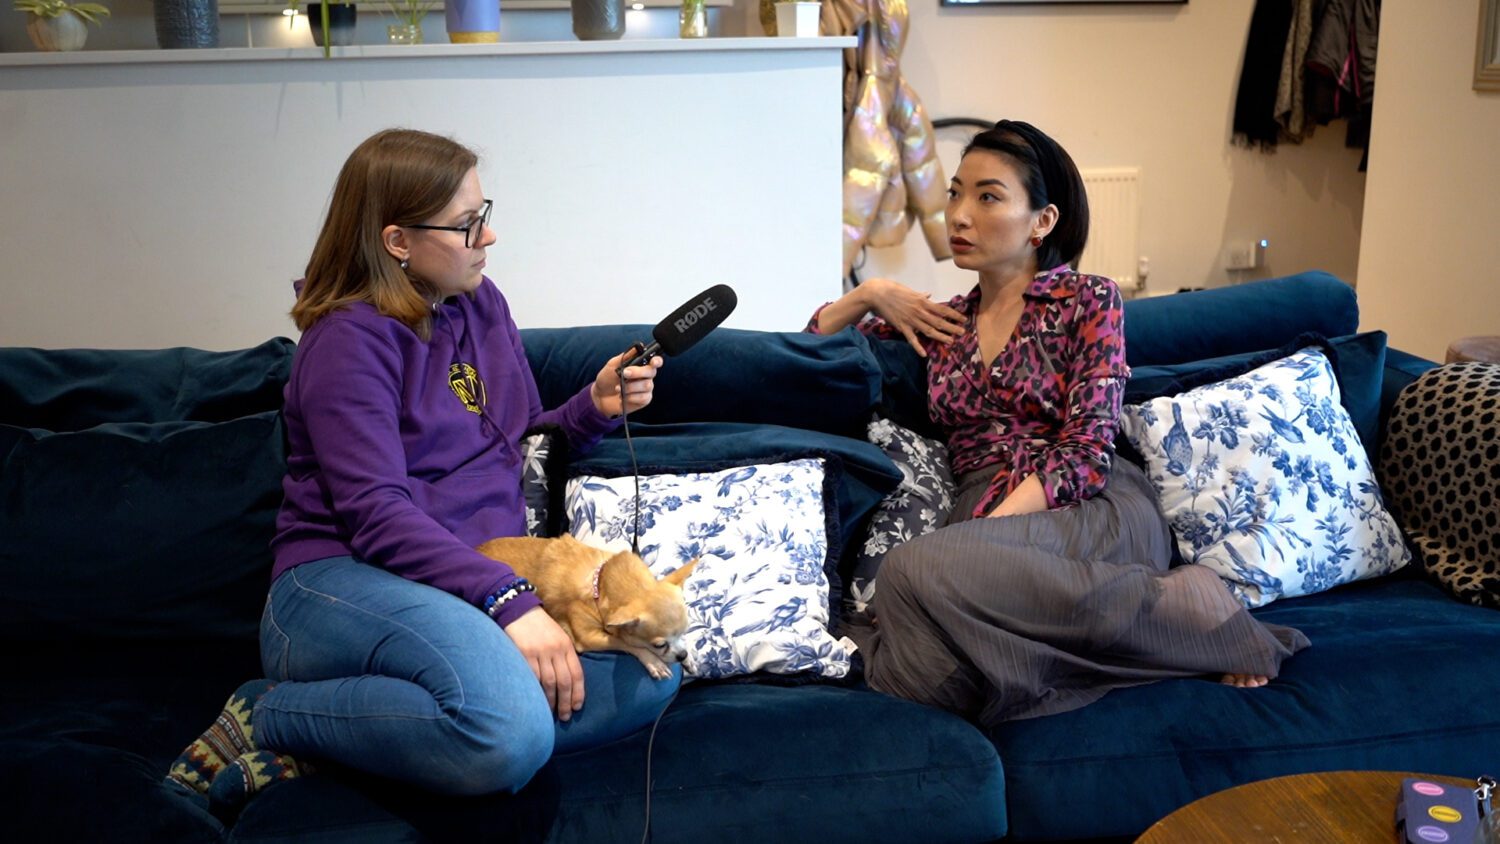
Thinking about adding video to your podcast? I’ve been there. You’ll need some additional gear and editing software. If you can, get a camera with XLR inputs. It makes syncing audio in post-production a breeze. If you have a camera that has no XLR inputs, you can also use 1 jack microphone directly plugged in to your camera and use it for you and your guest as well.
Podcasting online course
Starting a podcast doesn’t have to drain your wallet. From smartphones to high-end mics and mixing boards, there’s something for every budget. Once you sort your equipment out, it’s also not about you talking something into the great microphone. It has to make sense and needs a structure and a plan. I cover everything and much more in my Podcasting online course.
For any additional questions, book a session with me or contact me at nicole@nicoleven.com

Comments are closed