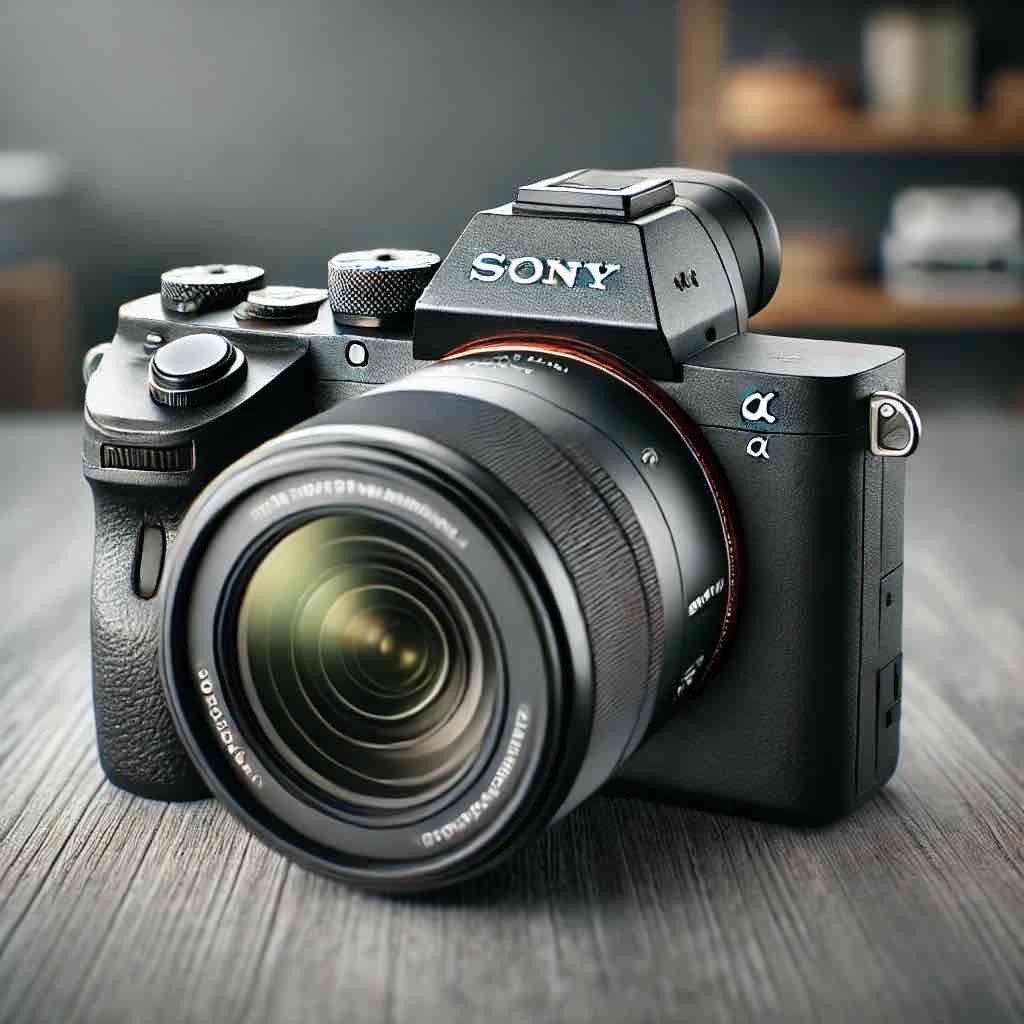
Attaching a shoulder strap to your Sony A7 III is a simple process, but doing it correctly ensures your camera stays secure and comfortable to carry. Whether you’re heading out for street photography or traveling with your gear, a properly attached shoulder strap provides added security and comfort. If you’re a photographer and videographer, the importance of not dropping your camera is the question of life and death. Lol.
As a videographer, sometimes I prefer not to use the strap at all as it prevents me from flexible and smooth motion. In that case, I do remove my strap quite often. That makes it even more important to do it right every time.
Here’s a step-by-step guide to help you attach your strap safely and efficiently.
Step 1: Unpack Your Shoulder Strap
– Check Your Strap: Make sure you have the original or a compatible shoulder strap for your Sony A7 III or any other camera you’re using. Inspect the strap to ensure there are no defects or frays that could compromise its strength.
– Locate the Strap Hooks: The Sony A7 III has dedicated strap hooks on both sides of the camera body, positioned near the top corners.
Step 2: Prepare the Strap for Attachment
– Threading the Strap: Take one end of the strap and thread it through the metal loop of the hook on one side of the camera. Ensure the smooth side of the strap faces outwards for comfort when worn.
– Secure the Strap: Pull the strap through until there is enough length to loop it through the plastic or metal buckle that came attached to the strap.
Step 3: Loop and Lock
– Create a Loop: Insert the end of the strap back through the buckle, creating a loop around the metal hook.
– Secure the Buckle: Pull the end of the strap through the secondary loop or holder on the strap to lock it in place.
– Tighten Firmly: Adjust the strap to make sure it is firmly secured but not overly tight. You should be able to adjust the length for comfort, but the strap should not slip when pulled.
Step 4: Repeat on the Other Side
– Attach the Second End: Repeat the process on the other side of the camera, threading the strap through the hook, looping it through the buckle, and securing it in place.
– Double-Check: Make sure both ends are secure and that the strap is evenly adjusted. The camera should hang comfortably and not tilt excessively when worn.

Step 5: Test the Strap
– Shake Test: Gently tug on the strap to make sure it’s securely attached to both hooks.
– Wear Test: Put the camera over your shoulder or around your neck to test the comfort and adjust the strap length if needed.
Tips for Comfort and Safety
– Adjust the Length: Ensure the strap is adjusted to your preferred length for easy access to the camera without compromising comfort.
– Use Safety Straps: If your strap comes with additional safety clips or loops, use them for extra security.
– Periodic Checks: Regularly check your strap’s condition and attachment points to prevent wear and tear from causing accidental drops.
Conclusion
Attaching a shoulder strap to your Sony A7 III is a straightforward task that can be done in just a few minutes. Following these steps ensures that your camera is securely held, giving you peace of mind while shooting on the go. Properly securing your strap can protect your investment and enhance your overall shooting experience.


Comments are closed